How to Use a Safety Harness for Roofing?
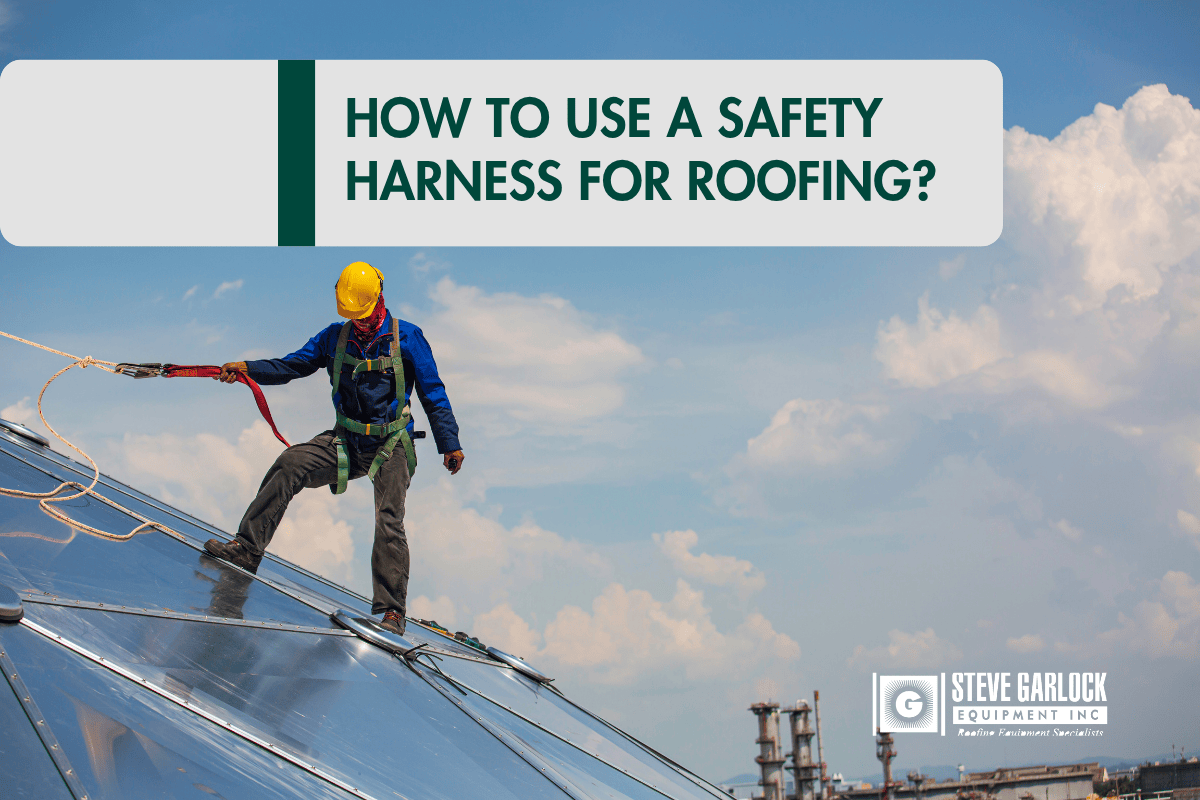
How to Use a Safety Harness for Roofing?
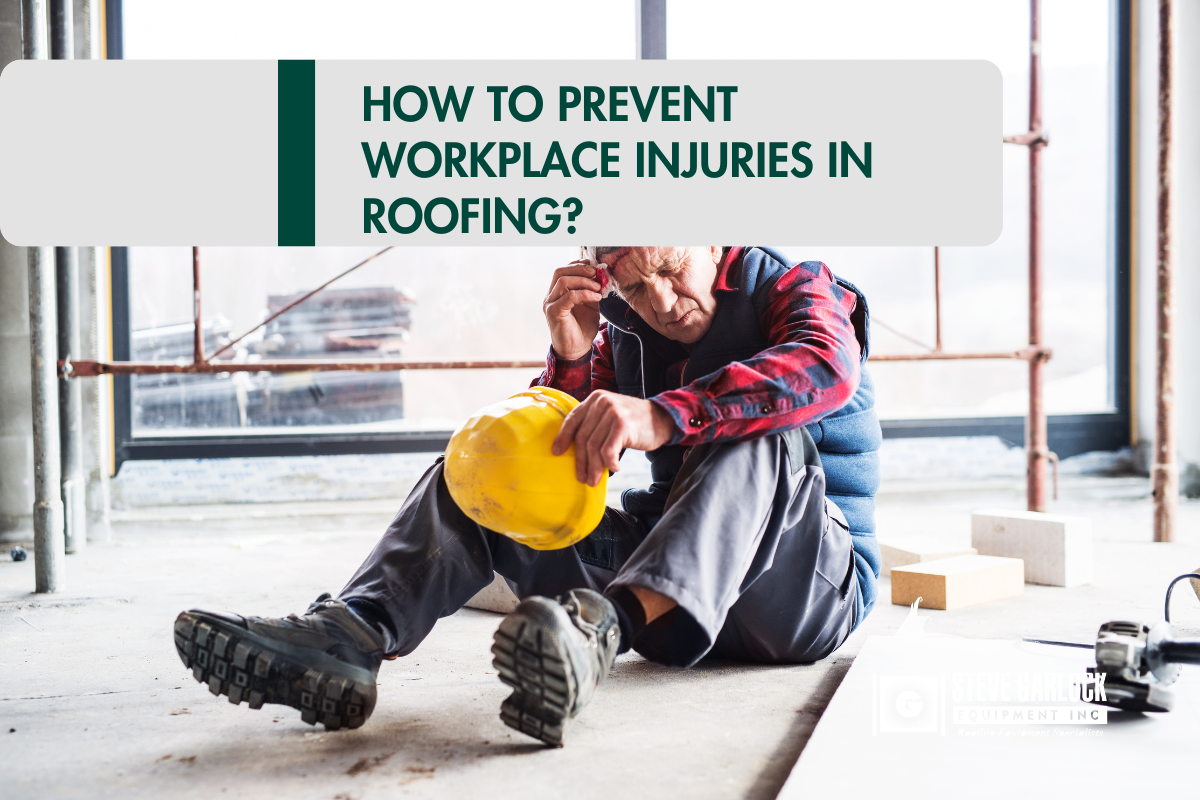
Roofing is one of the most hazardous professions in construction. Every year, roof-related falls cause serious injuries and fatalities across the U.S. and Canada. Knowing how to use a safety harness for roofing is critical to reducing risks and working safely at height.
At Steve Garlock Equipment, we’ve been serving roofing professionals across the West for over 26 years. We supply high-quality roofing equipment and fall protection systems that help ensure every job is completed safely.
This comprehensive guide on how to use a safety harness for roofing will equip you with practical knowledge on proper equipment selection, system setup, safe work practices, and common pitfalls to avoid.
Why Roof Safety Harnesses Are Essential
Falls are the leading cause of fatalities in the construction industry, and roofing work represents a significant portion of those incidents. In the U.S., OSHA reports that 33% of construction-related deaths result from falls. In Canada, workplace falls cause about 1 in 5 fatal accidents, many of which occur on roofs.
Roof falls most often happen:
- During initial access when setting up equipment.
- When moving between sections of the roof.
- When working near edges, skylights, or valleys.
For both residential and commercial roofing, a personal fall arrest system (PFAS) is the most practical and effective form of fall protection. Guardrails are rarely suitable for roof work, especially on residential homes, making PFAS a critical component of jobsite safety.
In the U.S., OSHA requires fall protection for roof work conducted at heights of 6 feet or more. In Canada, provincial OHSA regulations typically require protection for work performed 3 meters (about 10 feet) above a lower level.
When you understand how to use a safety harness for roofing, you dramatically improve your ability to work safely and protect your team.
When Is Fall Protection Required?
OSHA standards in the U.S. specify different requirements based on roof type:
- Low-slope roofs (pitch < 4:12): PFAS or guardrails required above 6 feet.
- Steep-slope roofs (pitch ≥ 4:12): PFAS required above 6 feet without exception.
In Canada, requirements vary slightly by province:
- In British Columbia, Ontario, Alberta, and most other provinces, a PFAS is required if the fall risk exceeds 3 meters.
Regulations can evolve, so it is essential to consult current OSHA and provincial OHSA guidelines to ensure full compliance with local requirements.
The first step in knowing how to use a safety harness for roofing is to understand when fall protection is legally required.
Personal Fall Arrest System (PFAS) vs Fall Restraint: What’s the Difference?
A personal fall arrest system is engineered to arrest a fall in progress and minimize injury by limiting the distance and force of the fall.
A fall restraint system, on the other hand, prevents the worker from reaching the edge of the roof in the first place. While fall restraints are effective for certain types of work, roofing typically requires access to roof edges, making PFAS the preferred choice for roofers.
If you are learning how to use a safety harness for roofing, it’s crucial to understand that PFAS is the appropriate system in almost every roofing application.
Components of a Personal Fall Arrest System (PFAS)
Anchor Point
An anchor point is a secure attachment device installed on a structural component of the roof. It serves as the connection point for the lifeline and is designed to absorb fall forces without failure.
Under OSHA standards, an anchor point must be capable of supporting 5,000 pounds of force per attached worker. It is crucial to install anchors on strong framing members such as trusses or rafters—not simply into sheathing or shingles.
Full-Body Harness (FBH)
The full-body harness is the wearable component of the system. It must be compliant with CSA Class A standards in Canada and ANSI/OSHA standards in the U.S.
The harness distributes fall forces across the body to minimize injury. Proper fit is essential:
- Straps should be snug around the legs and chest.
- The dorsal D-ring should be centered between the shoulder blades.
- Adjustments should allow free movement without excessive slack.
Fit the harness before every shift and inspect the components carefully.
Lifeline
The lifeline connects the harness to the anchor point via the rope grab and lanyard. It allows the worker to move along the roof while remaining continuously connected.
Rope Grab
The rope grab is a mechanical device that travels along the lifeline and locks in place during a fall to arrest movement.
Lanyard
The lanyard connects the harness to the rope grab or lifeline. Two common types are:
- Shock-absorbing lanyards
- Self-retracting lifelines (SRLs)
Knowing how to select, assemble, and maintain each of these components is part of mastering how to use a safety harness for roofing safely.
How to Prepare and Inspect Your Harness Before Use
Visual Inspection for Wear/Damage
Before each use, carefully inspect the harness for:
- Frayed or cut webbing.
- Damaged stitching.
- Rusted or deformed metal components.
- Signs of UV degradation.
Fit and Adjustment Tips
Adjust the harness for a snug, secure fit.
Personal Assignment of Harness
Each worker should use their own dedicated harness.
When to Retire a Harness After a Fall
If a harness has been subjected to a fall arrest, it must be immediately removed from service and replaced.
How to Calculate Fall Distance Accurately
One of the most important parts of understanding how to use a safety harness for roofing is knowing how to calculate fall clearance distance.
Freefall Distance
OSHA allows a maximum freefall distance of 6 feet before fall arrest begins.
Deceleration Distance
The maximum allowable deceleration distance is 3.5 feet.
Harness Stretch/Slack
Most harnesses will stretch approximately 1 foot under load.
D-ring Height
The dorsal D-ring typically sits about 5 feet above the worker’s foot level.
Safety Margin
A minimum of 2 feet clearance is recommended as a safety buffer.
Example Calculation
Component Distance Freefall Distance 6 ft Deceleration Distance 3.5 ft Harness Stretch 1 ft D-ring Height 5 ft Safety Margin 2 ft Total Required Clearance 17.5 ft
Installing Roof Safety Harness Anchor Points Safely
Selecting the Right Anchor Location
Choose locations close to the ridge.
Manufacturer Installation Requirements
Follow manufacturer instructions precisely.
Installing on Different Roof Types
- Steep-slope roofs: Ridge-mounted anchors are ideal.
- Low-slope roofs: Parapet clamps or weighted mobile anchors may be used.
Safe Initial Access
During initial setup, take extreme caution.
Setting Up and Connecting Your PFAS on the Roof
Connecting Lifeline to Anchor
Use appropriate connectors.
Connecting Rope Grab and Lanyard to Harness
Attach the lanyard to the dorsal D-ring.
Using a Self-Retracting Lanyard (SRL)
Connect the SRL to the anchor.
Final Safety Checks
Before commencing work, perform a complete system check.
Practicing this setup repeatedly will help roofers gain confidence in how to use a safety harness for roofing correctly every time.
Best Practices While Working on the Roof
Maintaining Proper Lifeline Tension
Avoid excessive slack.
Avoiding the Pendulum Effect
Work directly below or near your anchor point.
Using Multiple Anchor Points
For large roofs, install multiple anchor points.
Moving Safely Between Anchor Points
Plan transitions carefully.
Knowing how to use a safety harness for roofing also means learning safe movement techniques and minimizing risk as work progresses.
How Many Roofers Can Safely Use One Anchor Point?
Each anchor point should be rated for 5,000 lbs per attached worker.
For optimal safety, assign one dedicated anchor point per worker.
Slide Guards: An Additional Layer of Roof Safety
What Slide Guards Are
Slide guards are temporary barriers.
Building/Installing Slide Guards
Install roof brackets and secure dimensional lumber.
Why They Are Not a Replacement for PFAS
Slide guards do not provide fall arrest capability.
Using Both Systems Together
Combine slide guards with a PFAS to maximize protection.
Final Roof Safety Checklist Before You Begin Work
- Inspect the entire PFAS.
- Confirm anchor installation and strength.
- Verify required fall clearance distance.
- Adjust harness for proper fit.
- Review and communicate the rescue plan.
Every roofer must know how to use a safety harness for roofing properly before stepping onto the jobsite.
Contact Steve Garlock Equipment
Located in Portland, Oregon, Steve Garlock Equipment proudly delivers professional equipment to cities along the I-5 corridor from Portland to Everett. We also ship to Montana, Wyoming, Colorado, Arizona, and westward—including Alaska and Hawaii.
We pride ourselves on delivering the best possible customer service. Let us know how we can assist you—we will get back to you promptly.
Your Trusted Roofing Equipment and Safety Specialists
Serving the Pacific Northwest and Western states, Steve Garlock Equipment offers:
- New and used roofing equipment
- Roofing equipment rentals
- A full-service Leister repair shop
- Commercial rentals for Leister automatic and handheld tools
- Generators, powered tear-off tools, cutters, and deck equipment
Contact Steve Garlock Equipment today for the roofing equipment and fall protection systems you need to get the job done safely and efficiently.